
In a recent STEAM lab, we have been investigating how roller coasters work and what a Roller Coaster Engineer has to consider when designing a thrill ride. I had seen student examples of this project on Pinterest and adapted our 1 hour session from Teach Engineering: Building Roller Coasters Lesson Plans. I had a large jar of marbles and plenty of masking tape already, so the only purchase made was the 1″ Pipe Insulation from Home Depot. Keep in mind that the 1″ is the interior diameter, and its the smallest you should go because you need a wide enough half pipe when you undoubtably cut them off the center line. I learned that the hard way, so I’ll give you some more tips to have you make one trip.
1. You can’t reliably buy the 6ft lengths if the 1″+ foam insulation online and have them shipped to you. You can buy online for store pickup, but I recommend you see what you are buying beforehand. Do not buy self sealing or one with a tape length. Mine had a partial cut line on one side.
2. Ask for the box. I got lucky on the 2nd trip and was able to buy the last 16 and keep the big box they were stored in at Home Depot. Basically, these are 6ft long skinny pool noodles, it’s nice to have the box when you double the number from cutting them in half.
3. Grab a few extra. For mistake cuts, teacher examples, more student groups than expected, etc. I bought 16 knowing that we would have 6-7 groups for my class and 6-7 groups for the other art teacher that teaches STEAM in the same block. Each group ends up with 12 feet of track (1 noodle cut in half).
4. Take your time cutting. Watch some TV and don’t stress out your hand. I cut all 16 the night before with sharp scissors. They aren’t that hard to cut and I feel it would have been less controlled if I used a razor.
You will be able to reuse these many times. So far, my collection has gone through 250 students and are in great shape for next year.
We started our lesson with these Youtube videos:
We started with understanding what kinetic and potential energy are and how they relate to each other. We noted some of the facts we picked up from the first and then watched the second video twice. They first time was to get over the “cool POV effect” and the commentary of who has been on it or been to Busch Gardens. I used this video specifically because our Virginia students were familiar with the Williamsburg theme park (and many had seen or ridden this coaster in real life). The second time we “rode” this video, I muted it and we talked about what was going on in terms of potential energy and transference into kinetic energy. What powers the coaster to start, speed up, slow down, and stop. Where is the greatest potential energy and the least?
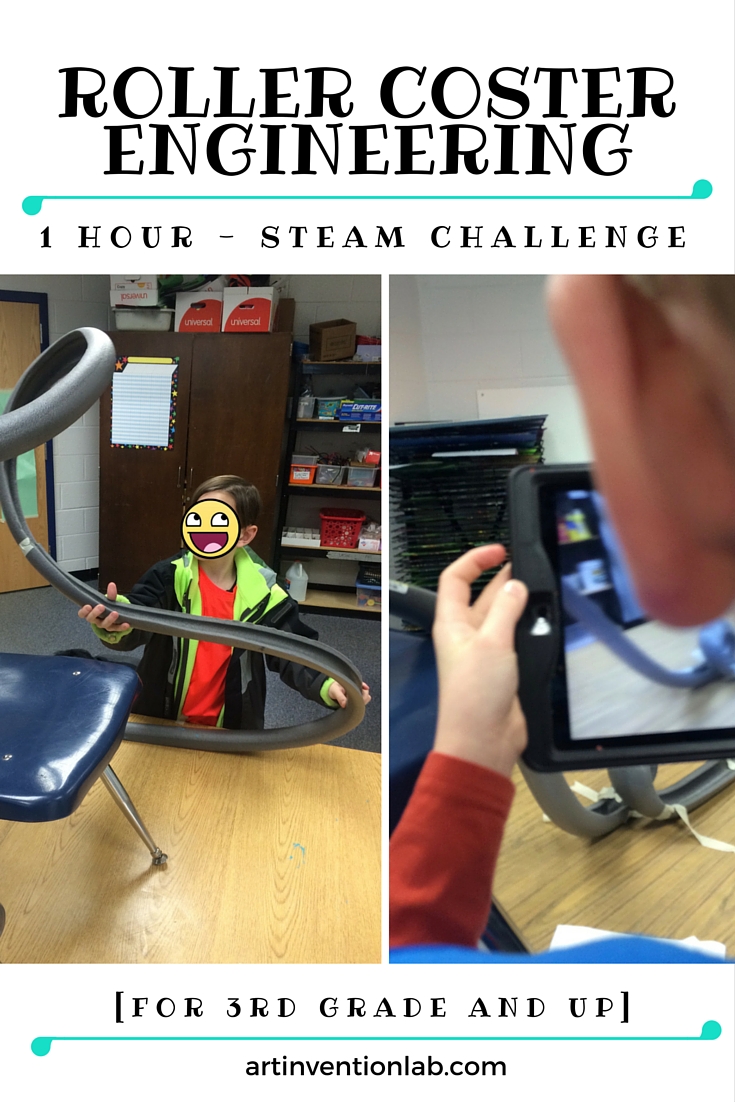
Groups were give a challenge that they would have to create one successful “loop-the-loop” and “corkscrew.” They had to create simple designs and predict where the potential energy and kinetic energy would be. There was repeated testing of their designs. In action, groups began utilizing the chairs, tables, and floor for maximum potential energy.


This is one of those STEAM lessons where Art sits in the back seat. They do have to map it out, and we talk about the 3D modeling rollercoaster engineers have to do, but there isn’t much fine art or visual design in this challenge. I think it’s important to have variation. Sometimes, my STEAM challenges have more weight in the collaborative experience. In their classrooms, students don’t always have sufficient practice on actively working with others. There is a difference between collaboration and group work. In group work, you split tasks (many which are done independently and then brought back to the group). In authentic collaboration, a group shares their thoughts, ideas, and converses through planning. Active experimenting includes every member.
Kids don’t have a natural intuition to listen to each other or lead an idea while adjusting to peer feedback. STEAM challenges like this allow for practice in a low risk, low intimidation situation. Failed ideas can be altered in seconds. When you have a student that does not easily involve themselves, or feels truly uncomfortable in group efforts, you can ask them to be your documentary photographer or videographer. I’ve also used this tactic for students that are ostracized from peers because they all want to be on camera and become willing to talk about what they are doing or engage with the ostracized student. I’m well-aware that there are better tactics for handling children ostracized by their peers, but I live in the real world where I see some of these students once a month and I spend the hour heavily engaged in mentoring problem solving and authentic collaboration (Art is a separate class: some have a different art teacher, I might not even know their name).
I’ve used the Teach Engineering Worksheet and the new Art Invention Lab Design Worksheet (modeled after practices in PBL, Design Thinking, and the Engineer Design Process). I had the students draw line designs and create points of P for potential and K for Kinetic with arrows. I created an example below. Download my worksheet for free here: ArtInventionLabDesignChallengeWorksheet

Discover more from Art Invention Lab
Subscribe to get the latest posts sent to your email.
